Making 3D models from images using AI
2025年3月16日
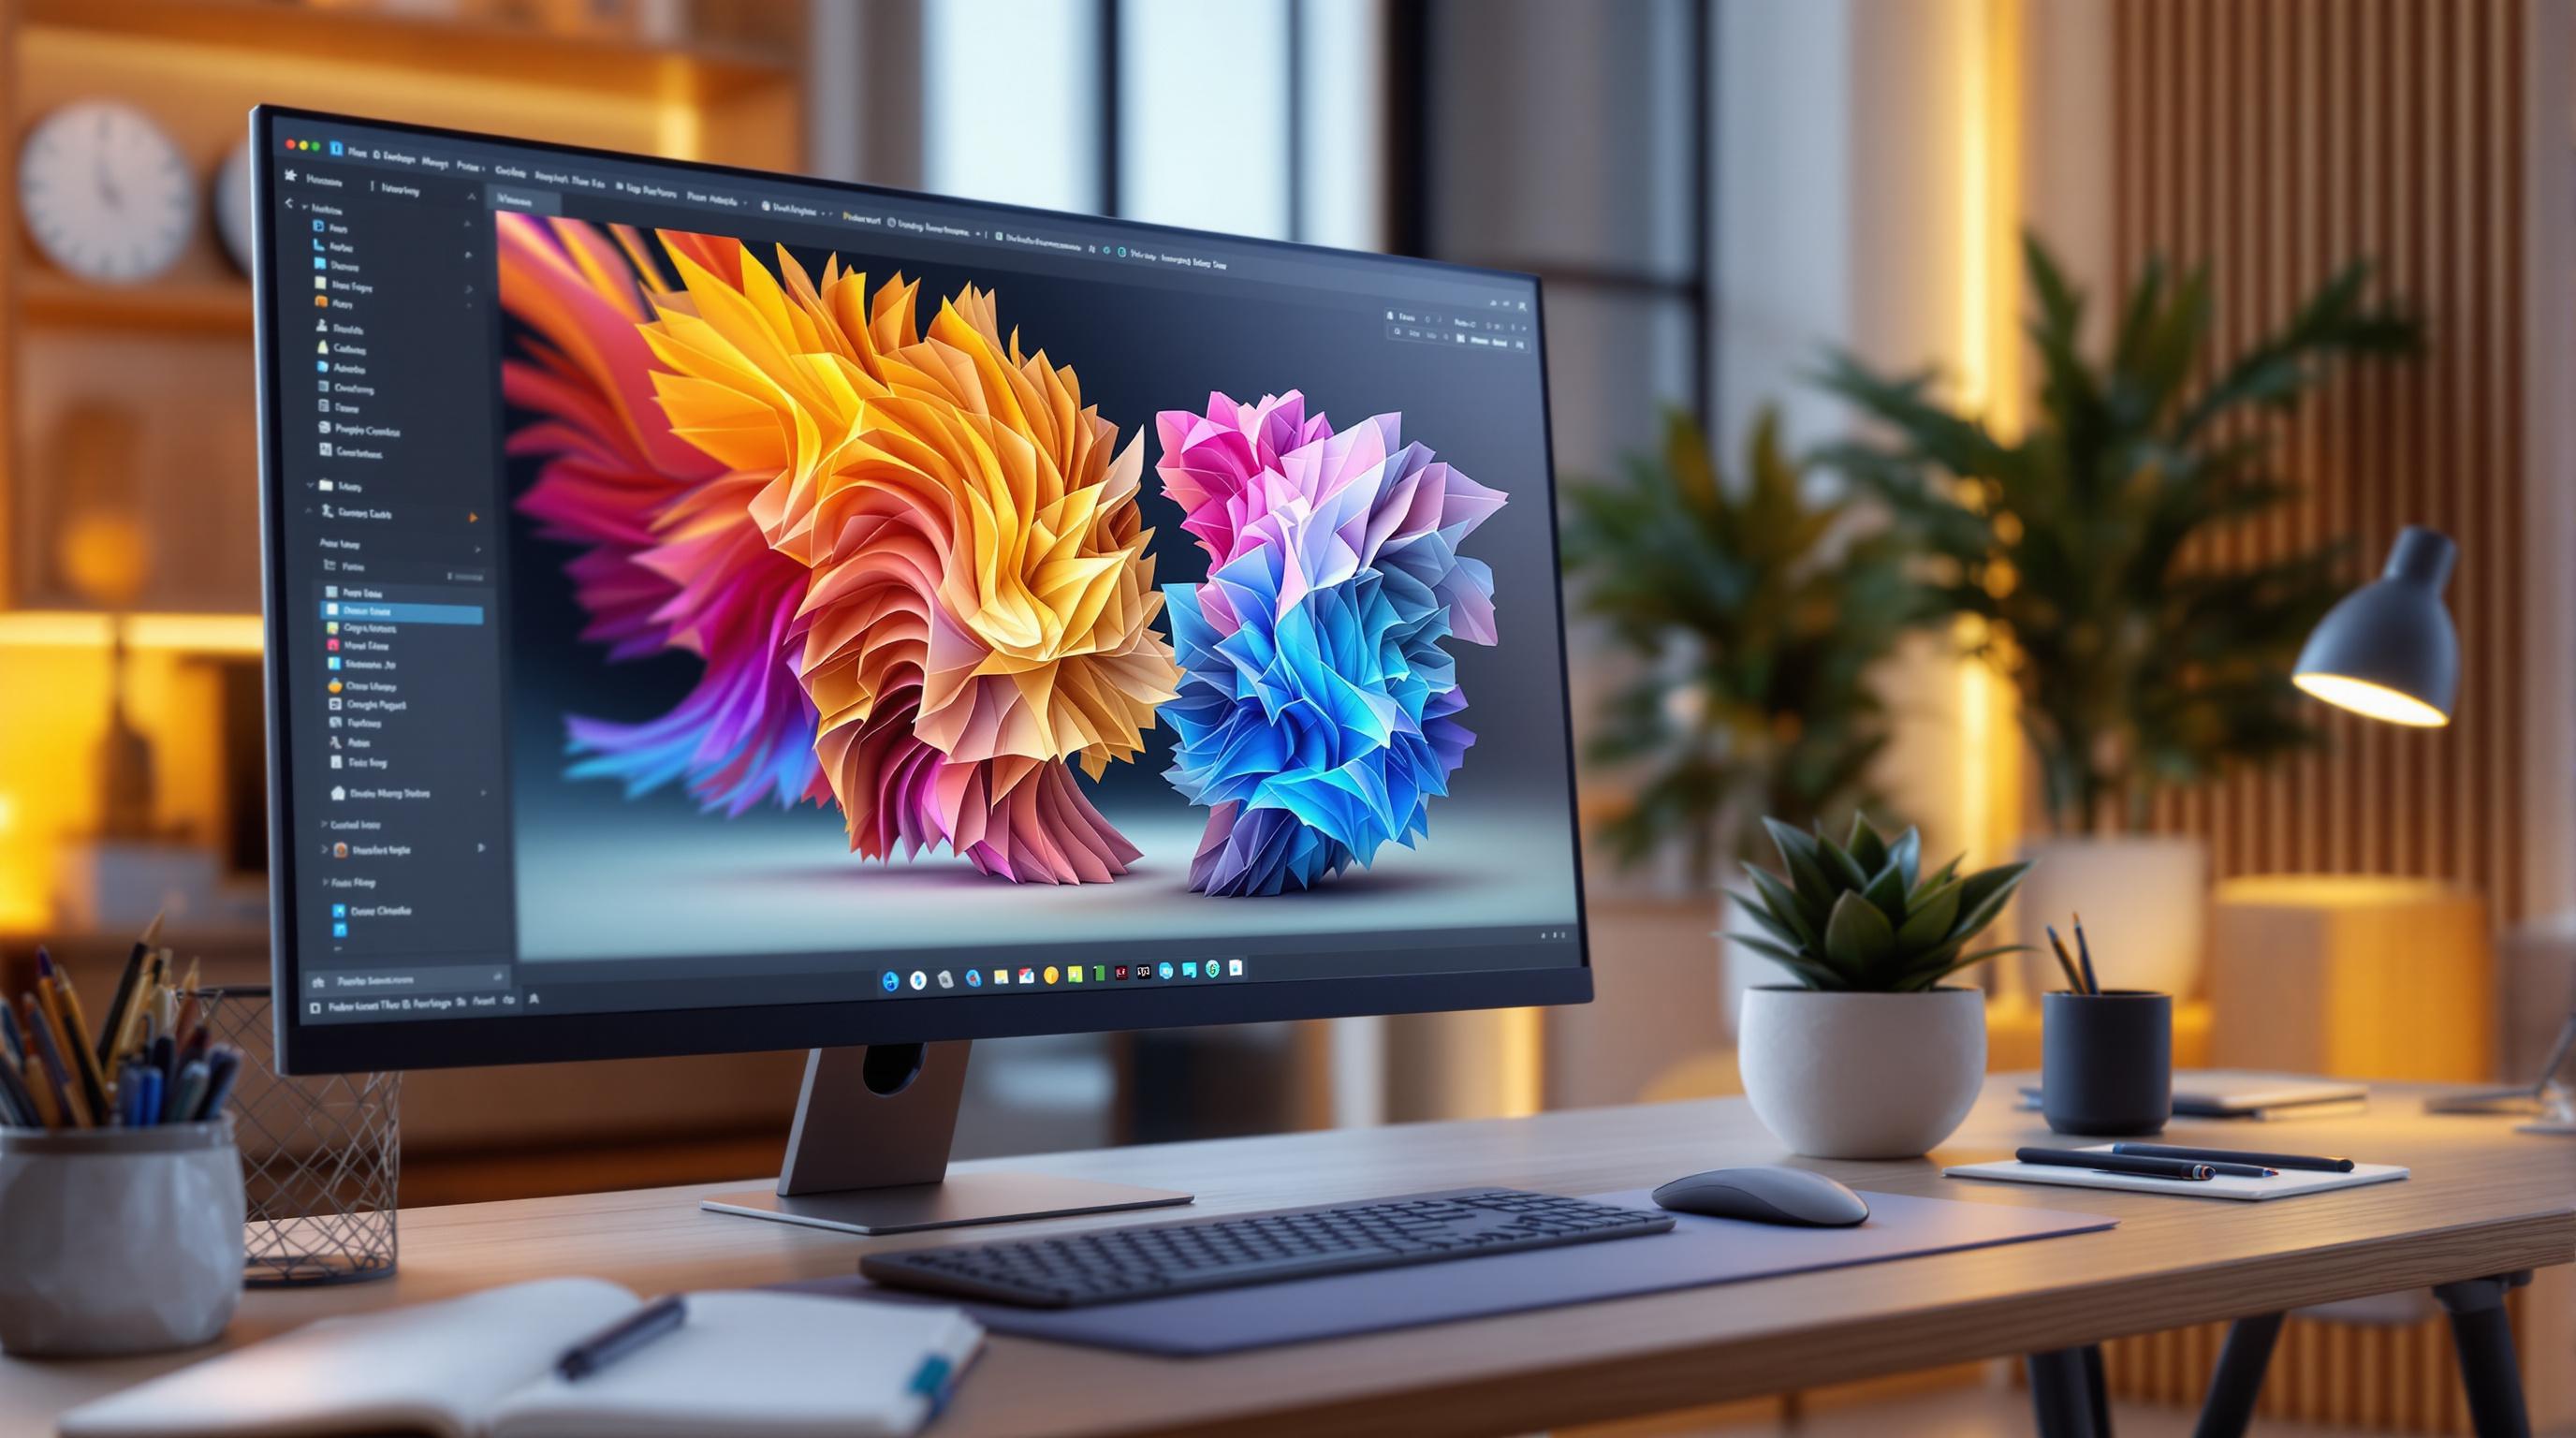
AI now makes creating 3D models from 2D images faster and easier than ever. With tools like uMake, Polycam, and Model Ai, you can generate detailed 3D models in seconds using text prompts or photos - even on mobile devices. Here's what you need to know:
AI Benefits: Automates 3D modeling, reducing manual work and speeding up workflows by up to 99%.
Mobile Tools: Apps like uMake and Polycam bring professional-grade 3D modeling to iPhones and iPads, supporting export formats like OBJ, STL, USDZ, and GLB.
Optimization Tips: Use high-resolution, well-lit images with clean backgrounds for better results. Optimize models for mobile by reducing polygon count and compressing textures.
Top Tools: uMake offers user-friendly features for sketching, exporting, and real-time rendering, while Polycam excels in photogrammetry-based 3D creation.
Whether you're a designer, architect, or hobbyist, AI tools simplify the process of turning your ideas into 3D models for various platforms like Unity, Roblox, or Unreal Engine.
Photogrammetry (Photo Scanning) on ANY phone or browser with Polycam Web

Best AI Tools for 3D Model Creation
When choosing AI tools to convert images into 3D models, it's important to find options that combine powerful features with user-friendly interfaces. Thanks to recent advancements, professional-grade 3D modeling is now possible even on mobile devices.
Key Features to Look For
The best AI modeling tools include features that simplify the design process. Studies show that teams using modern 3D design tools can move from concept to visualization up to 60% faster. Here are some important features to consider:
Feature Category | Capabilities | Workflow Benefits |
|---|---|---|
Precision drawing, freehand options, curve creation | Supports a natural design process | |
Model Library | Pre-built 3D assets, textures, materials | Speeds up project timelines |
Export Options | Multiple file formats (OBJ, STL, USDZ, GLB) | Ensures compatibility across platforms |
Visualization | Real-time rendering, AR previews | Enhances client presentations |
Collaboration | Shared workspaces, feedback tools | Improves team coordination |
One tool that checks all these boxes is uMake.
Why uMake Stands Out
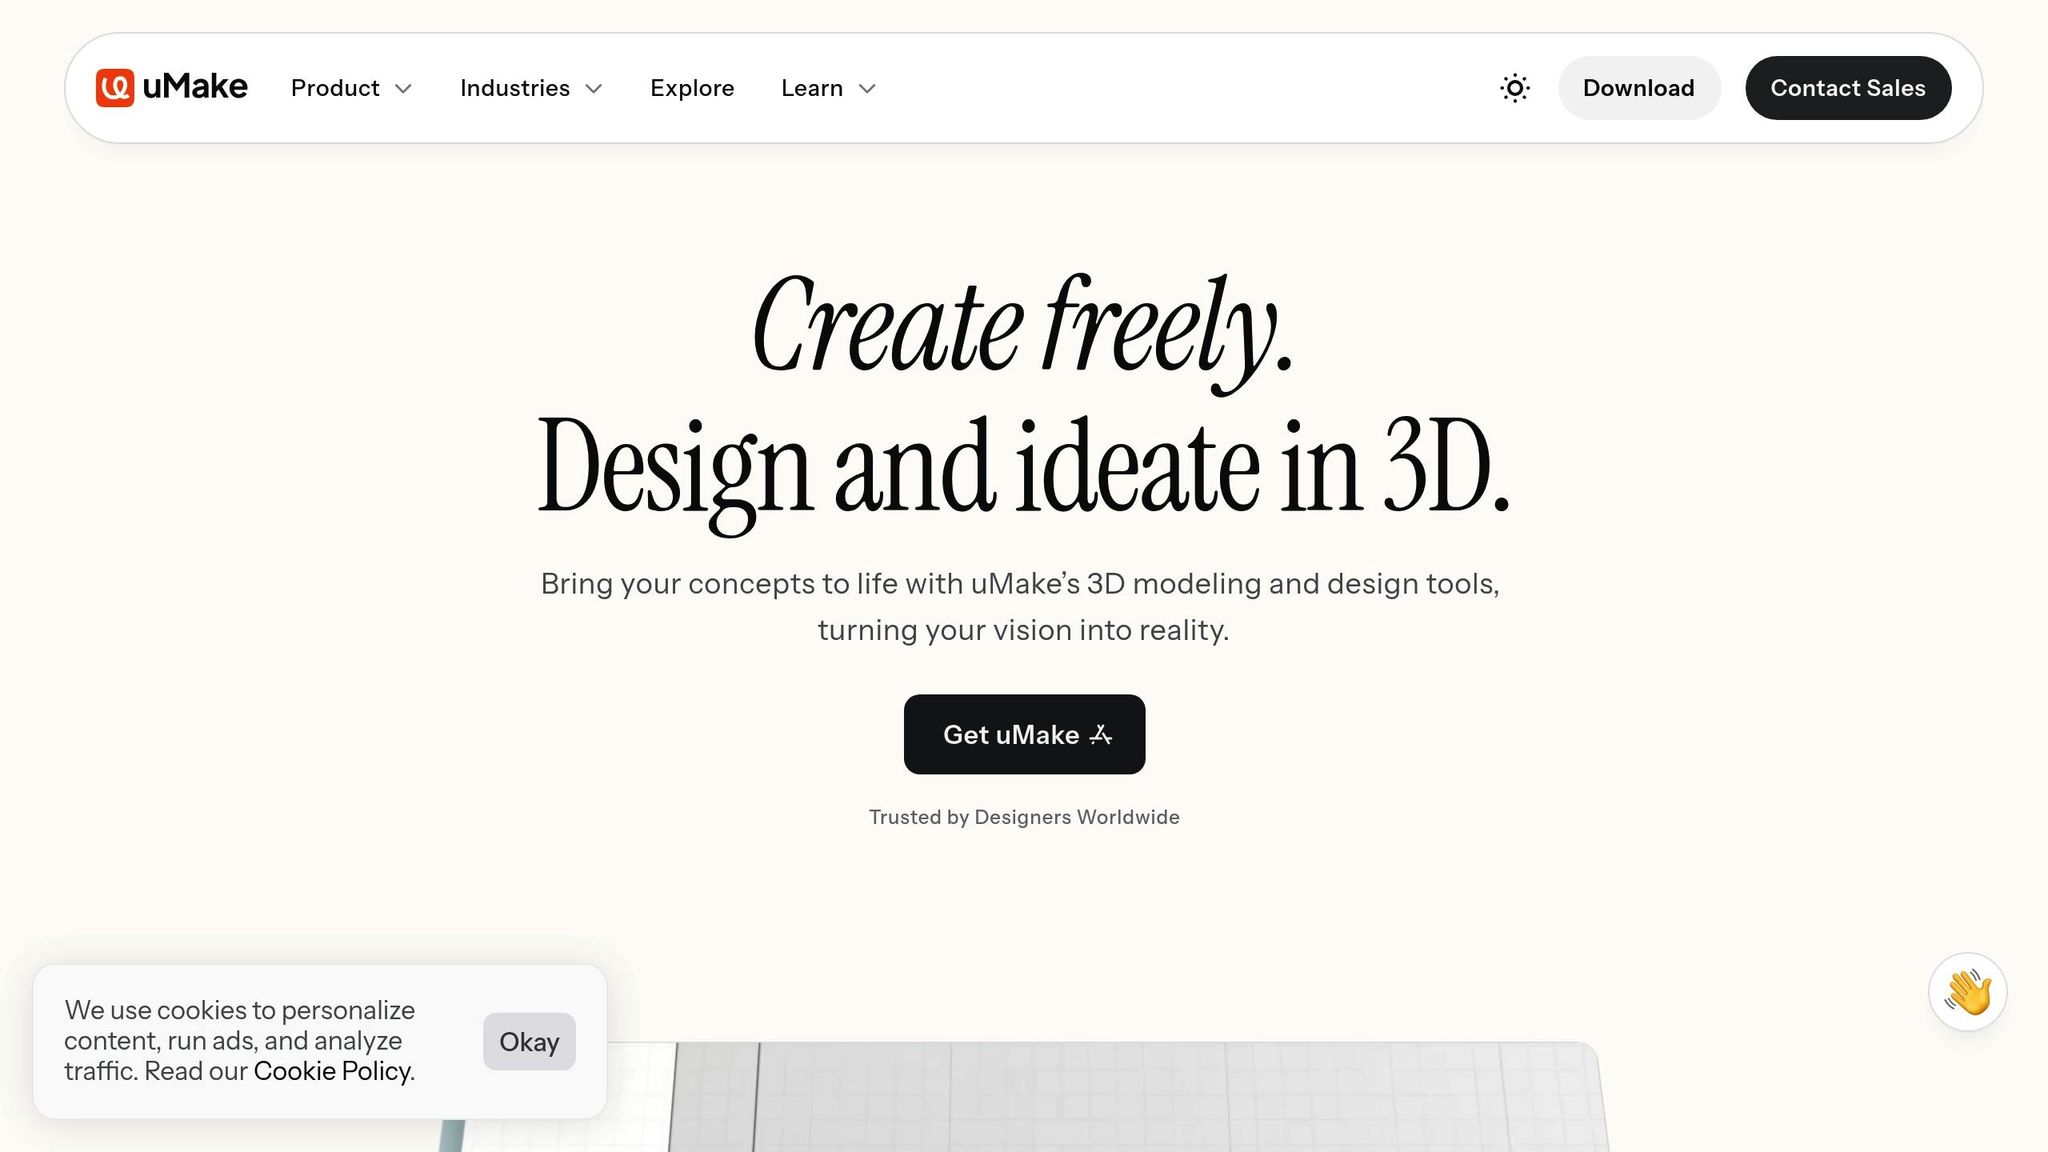
uMake has become a top choice for mobile 3D modeling, with over 30,000 designers and businesses worldwide using the platform. Its appeal lies in a combination of powerful features and an easy-to-use interface, enabling users to create designs 4× faster than with traditional tools.
Professional designer Chris McMillan shares his experience:
"uMake allows me to take my ideas and turn them into concepts."
uMake offers three pricing plans:
Free: Basic features and viewing capabilities
uMake: $7.99/month (billed annually), includes full drawing tools
uMake+: $11.66/month (billed annually), adds unlimited 3D elements
One standout feature is "Spaces", a limitless whiteboard where users can combine 3D designs, photos, and sketches. This feature has drawn praise from industry experts like Ajbeitia:
"It's really an amazing app that allows you to develop great design ideas, from the initial lines to fully realized 3D concepts, using intuitive tools and a smooth workflow."
uMake is versatile enough to support professionals across fields like architecture, interior design, and product development. With a high user satisfaction rating of 4.3 out of 5, it’s a reliable choice for designers looking to streamline their workflow.
Getting Your Image Ready for 3D Conversion
Clear, well-prepared images are crucial for achieving accurate AI-generated 3D models. Proper preparation ensures your 3D models are detailed and meet professional standards.
Image Quality Requirements
The quality of your source images directly affects the success of AI-based 3D conversions. Here's what you need to know:
Requirement | Specification | Impact on Results |
|---|---|---|
Resolution | High resolution | Captures detailed textures |
Format | JPG, JPEG, PNG | Ensures tool compatibility |
Lighting | Even, diffused | Reduces shadows and glare |
Background | Clean, solid color | Isolates the object better |
Object Position | Centered, front view | Enhances overall accuracy |
According to Artlabs Studio's guidelines, capturing 50–200 images from multiple angles and heights with fixed focus and exposure is ideal.
Image Preparation Steps
Follow these steps to prepare your images for 3D conversion:
Set Up Your Capture Environment
Use a controlled setting with diffused lighting to avoid harsh shadows and reflections. This helps the AI focus on the object.
Photography Best Practices
Take photos from three different heights, maintaining equal distances and consistent camera settings. Ensure overlapping angles for better coverage.
Image Cleanup
Edit your images to remove any distractions, such as busy backgrounds, so the AI can focus solely on the object.
To get the best results, make sure your images follow these guidelines:
Only one object in the frame
No watermarks or text overlays
Neutral or white backgrounds
Sharp focus on the main object
Uniform lighting across all shots
Converting Images to 3D Models: Step by Step
Turn your images into detailed 3D models with the help of AI.
Image Upload and Processing
Open the "Image to 3D" workspace.
Upload your PNG or JPG files.
Enable PBR map generation for improved textures.
Let the AI process your images.
If you're on mobile, Polycam simplifies the process by combining image capture and processing. The app uses photogrammetry to analyze your images and create accurate 3D models. For devices with LiDAR, it provides even greater precision.
Once your images are processed, you're ready to refine the model.
Fine-Tuning AI Results
Enhance your model by adjusting key settings:
Adjustment Type | Purpose | Recommended Settings |
|---|---|---|
Smart Healing | Fixes texture imperfections | Ideal for facial features and seams |
Texture Richness | Adjusts detail levels | High for realistic, medium for stylized |
Mesh Settings | Optimizes polygon count | Adjust based on platform needs |
For example, if your original model has 10,778 faces and you need around 4,000 for mobile use, set the reduction ratio in mesh settings to 0.43.
"Polycam bridges the gap between professional-grade 3D modeling and everyday accessibility, empowering users to create wherever they are." - PageOn.ai
Saving and Exporting 3D Models
Once your model is ready, choose the best format for your needs:
Format | Best For | Key Features |
|---|---|---|
OBJ | Broad compatibility | Includes materials and textures |
USDZ | iOS AR applications | Apple's preferred format |
glTF | Android AR projects | Google's recommended format |
FBX | Professional 3D software | Complete scene data |
When exporting, make sure to:
Include texture and material files.
Verify the model in a viewer.
Compress textures for better mobile performance.
Test AR functionality.
For mobile optimization, uMake provides export tools that balance quality and file size. It supports multiple formats and offers unlimited storage for professional users, making it a great option for managing different versions of your 3D models.
Making 3D Models Work Well on Mobile
Mobile devices have less processing power than desktops, so getting your 3D models optimized is key for smooth performance. Let’s go over some practical ways to make your AI-generated 3D models mobile-friendly.
Lowering Model Complexity
A high polygon count can slow down rendering on mobile devices. To avoid this, focus on reducing polygons by using techniques like mesh simplification and normal mapping to simulate detail without extra geometry. You can also implement Level of Detail (LOD) strategies, which adjust model complexity based on how close the viewer is. Don’t forget to optimize your textures and materials as well - they play a big role in improving performance.
Managing Materials and Textures
Since mobile devices have limited texture memory, managing materials and textures efficiently is critical. Here’s how:
Texture Resolution: Stick to textures no larger than 1024x1024 pixels and use dimensions that are powers of two (e.g., 256x256, 512x512). This helps reduce memory usage.
Material Setup: For physically based rendering (PBR), the Metallic Roughness workflow works well on mobile platforms. Focus on using only the essential texture maps, such as albedo (color), normal (surface detail), a combined metallic/roughness map, and ambient occlusion. This keeps memory usage in check while maintaining quality.
Mobile Export Settings
Choosing the right export format is crucial for mobile performance. For Android AR, go with GLB (glTF 2.0) and enable Draco compression to shrink file sizes. For cross-platform projects, FBX is a good option - just make sure textures are embedded, and animation data is reduced.
Take advantage of optimization features in tools like uMake, such as:
Texture compression to cut file sizes
Geometry optimization for smoother rendering
LOD generation to manage detail based on distance
UV optimization to reduce the number of draw calls
These steps can help ensure your models perform well on mobile devices without sacrificing too much visual quality.
Conclusion: Next Steps with AI 3D Modeling
Main Points Review
AI technology is changing the way 2D images are transformed into detailed 3D models. Tools like uMake ($7.99/month) offer a range of features for sketching, modeling, and visualization, compatible with iPhone, iPad, and Mac devices.
To create mobile-ready 3D models, focus on these critical areas:
Model Optimization: Tools like Convrse.ai provide automated optimization, offering vertex-level control and AI-driven shape recognition.
Format Compatibility: Stick to widely-used formats such as GLB (glTF 2.0) or FBX.
Performance Testing: Test your models on various devices and apply LOD (Level of Detail) strategies for consistent performance.
With these essentials, you can confidently dive into AI tools to streamline your 3D design workflow.
Getting Started with AI Tools
Begin experimenting with free trial platforms. For example, Meshy.AI provides 200 monthly credits, and LumaLabs Genie is currently free. These tools allow you to test AI-driven 3D creation without any upfront cost, helping you learn the ropes quickly.
Here’s a real-world example of how AI tools can transform workflows:
"With the 3D AI STUDIO, I've been able to create complex, high-quality 3D models in seconds, shaving hours off of my usual timescales and allowing me to focus more on getting creative. It has been a game-changer. This is the best AI 3D Model Generator I have ever used!"
Here are some top optimization tools and their benefits:
Tool | Key Benefit | Real-World Impact |
|---|---|---|
Asset Optimization | Enabled Adidas to convert 80% of their product range into 3D commerce assets. | |
Convrse.ai | Polygon Reduction | Simplifies manual tasks while preserving model quality. |
Meshy.AI | Generates 3D assets in under a minute. |


